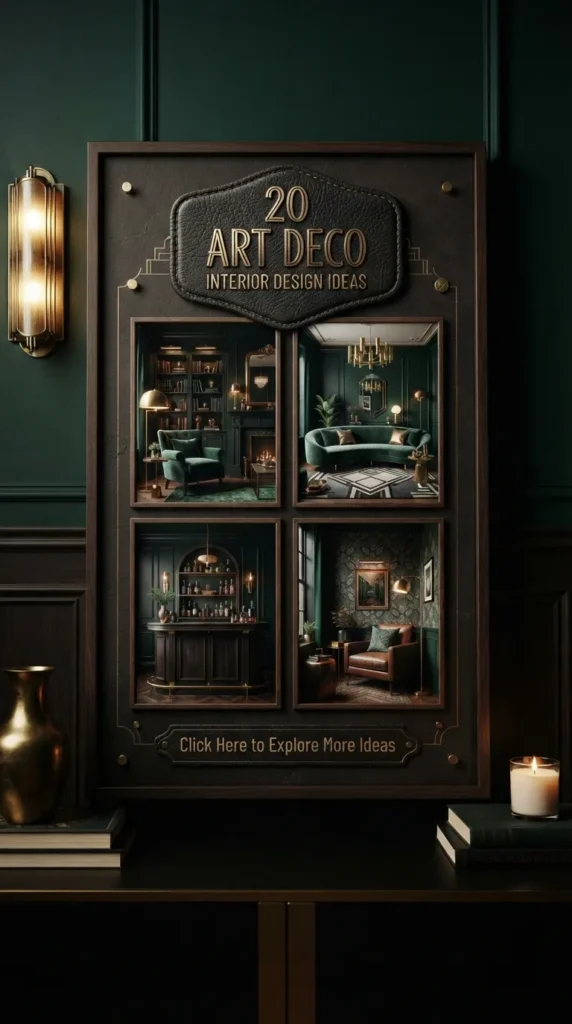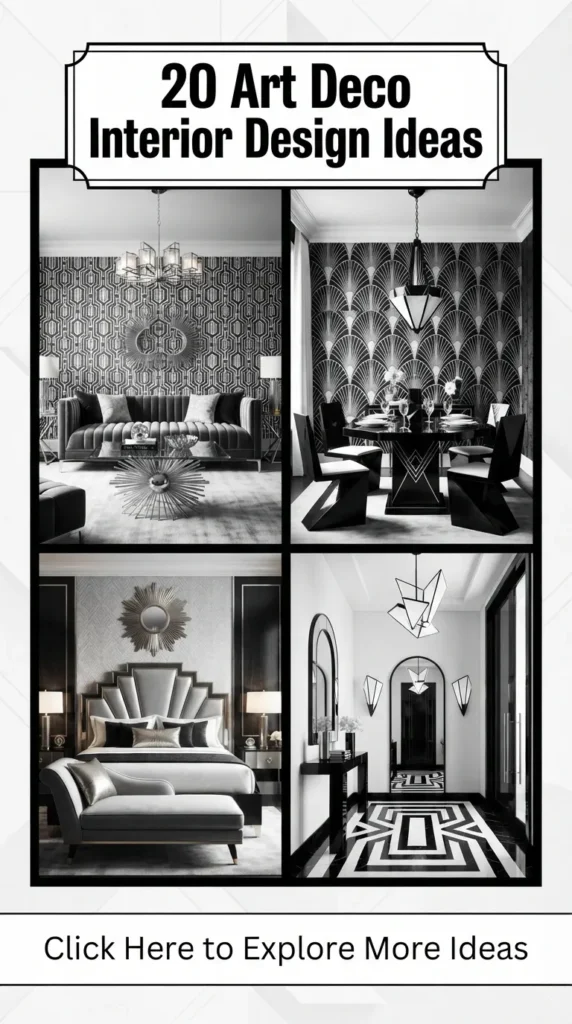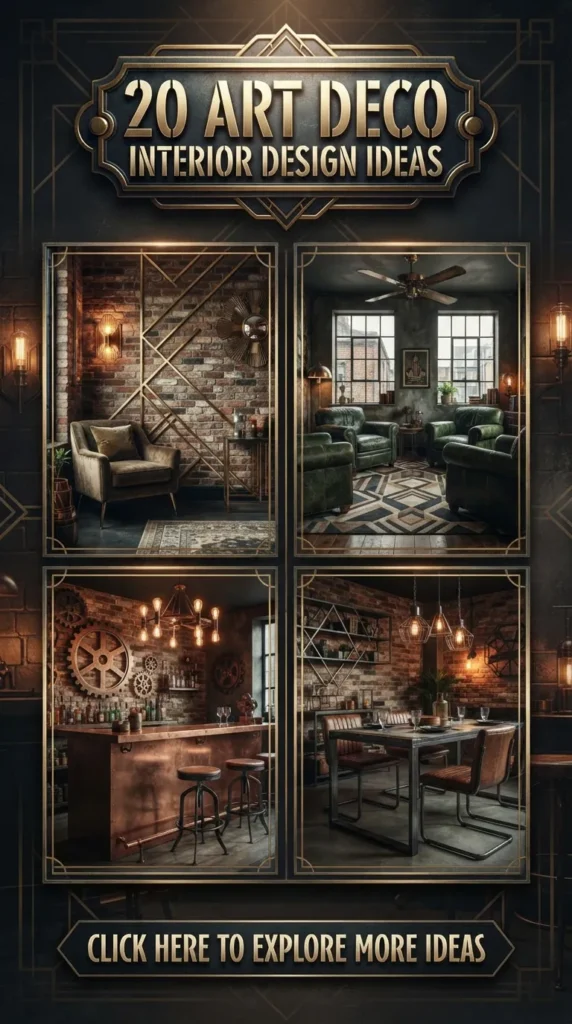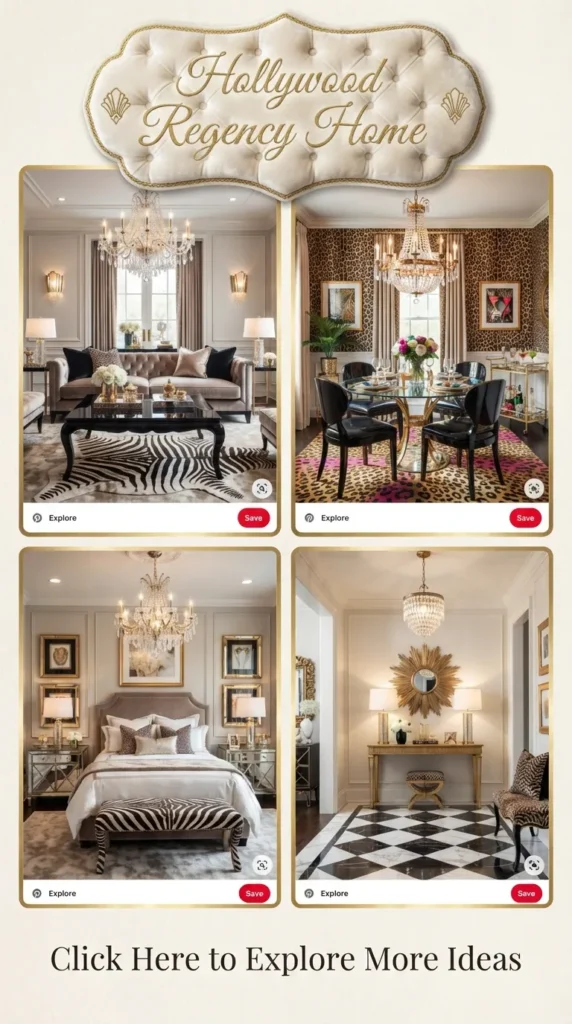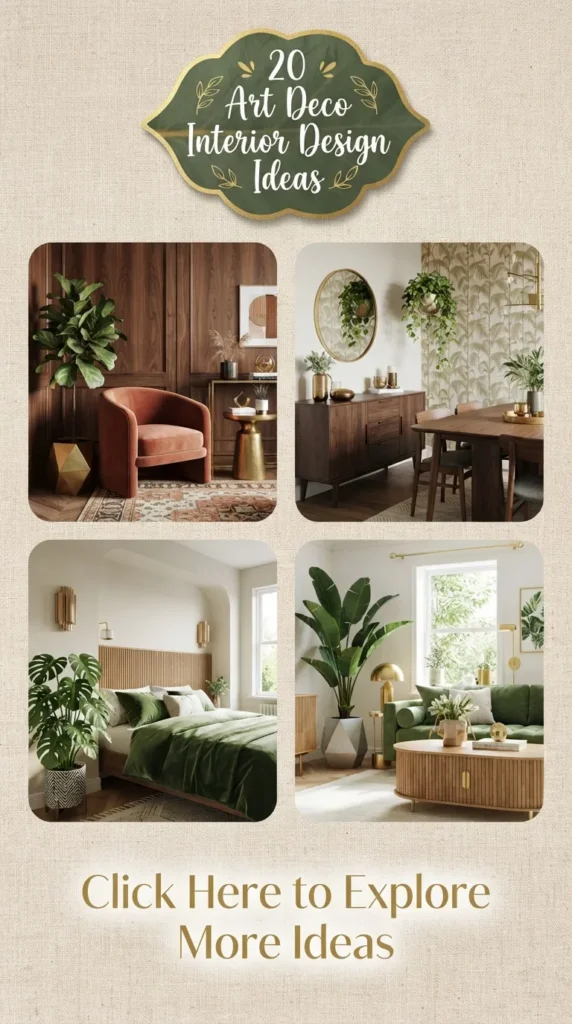
Art Deco is a design movement that defines timeless opulence, symmetry, and sleek modernity. Originating in Paris in the 1920s and flourishing internationally through the 1930s, this style celebrates the machine age, luxury materials, bold geometric patterns, and unashamed glamour. Whether you live in a historic brownstone or a sleek contemporary apartment, incorporating Art Deco elements allows you to infuse your living space with theatrical elegance, rich jewel tones, and sophisticated craftsmanship.
This comprehensive guide explores 20 exquisite Art Deco interior design ideas. Each concept features a detailed introduction, an exploration of its design philosophy, step-by-step guidance on how to execute it, essential tips and variations, and the exact materials you will need. At the conclusion of this article, you will find a curated collection of high-resolution visual prompts designed to inspire your next interior design project.


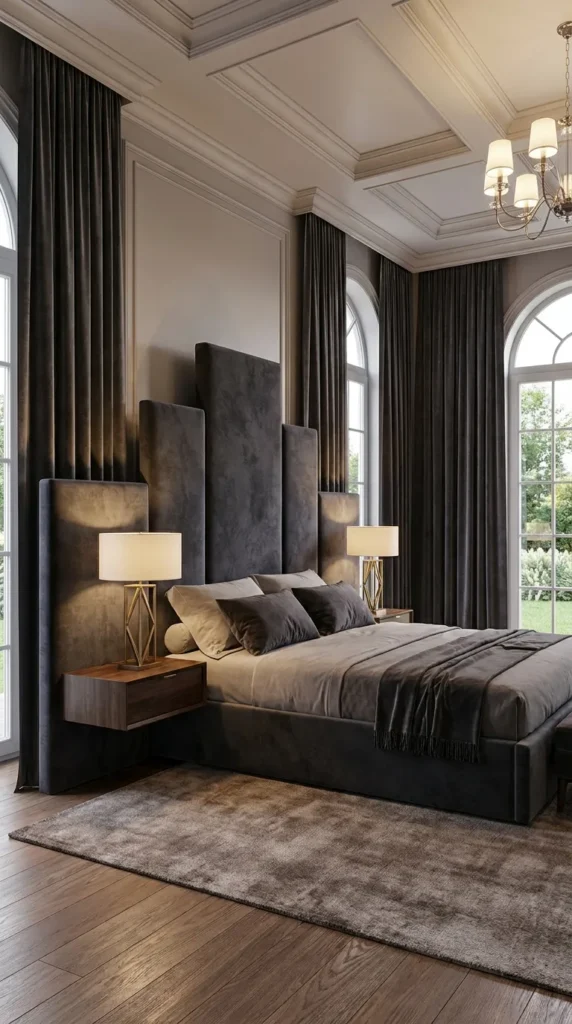
1. Geometric Sunburst Wall Panels
Introduction
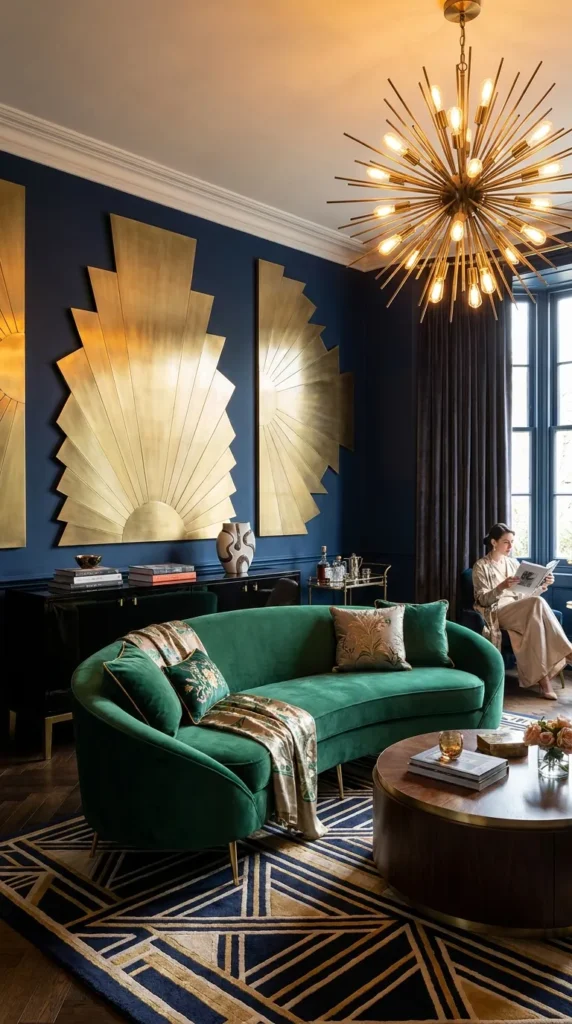
The sunburst motif is one of the most iconic signatures of Art Deco design. Installing geometric sunburst wall panels behind a bed or living room sofa introduces instant architectural drama and radiant focal energy.
What This Idea Means
This concept celebrates symmetry, radial geometry, and theatrical ornamentation. It captures the optimism and dynamism of the 1920s machine age, drawing the eye outward and upward to create a striking visual centerpiece.
How to Make It
- Wall Layout: Map out the center point of your feature wall using a laser level and chalk lines to ensure perfect radial symmetry.
- Molding Installation: Cut slender wooden or brass molding strips to precise lengths, arranging them in an expanding sunburst pattern radiating outward from a central focal point.
- Backing and Trim: Alternatively, mount pre-fabricated decorative 3D wall panels featuring geometric sunburst or chevron ridges directly onto the drywall using construction adhesive.
- Finishing: Paint or gild the wall panels in contrasting metallic finishes—such as brushed brass or antique gold—against a moody deep-navy or charcoal wall base.
Tips and Variations
- Tip: Pair sunburst wall panels with indirect backlighting (like hidden LED strips) to cast deep, dramatic shadows across the geometric relief lines.
- Variation: Use lightweight brass inlay strips pressed directly into a dark wood-paneled accent wall for a subtler, bespoke executive look.
Needs to Make That Thing
- Wooden or brass molding strips and miter saw
- Construction adhesive and finish nailer
- Laser level and chalk line
- Matte wall paint and metallic gold gilding leaf
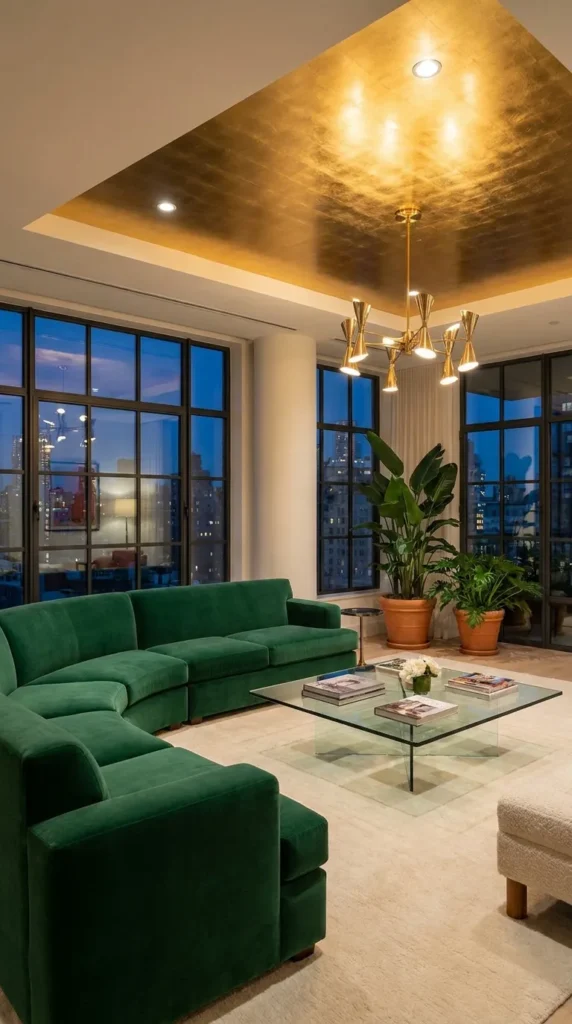
2. Emerald Jewel-Tone Velvet Curved Sofa
Introduction
Art Deco furniture embraces soft, organic curves and unapologetically rich upholstery fabrics. A curved sofa draped in deep emerald green, sapphire blue, or ruby red velvet anchors a room in sumptuous luxury.
What This Idea Means
This design philosophy prioritizes tactile opulence and conversation-friendly layouts. It rejects boxy, rigid seating in favor of fluid, inviting silhouettes that echo 1930s Hollywood glamour.
How to Make It
- Sofa Selection: Invest in a statement curved or channel-tufted sofa featuring a crescent silhouette and tapered brass-capped legs.
- Placement: Float the curved sofa in the center of the living room rather than pushing it flat against a wall, allowing its sculptural lines to be admired from all angles.
- Accent Pillows: Accessorize the sofa with contrasting silk or satin throw pillows featuring geometric Art Deco embroidery or metallic thread detailing.
- Complementary Grounding: Place a circular or rounded abstract art rug beneath the curved sofa to echo its organic silhouette.
Tips and Variations
- Tip: Velvet changes tone depending on the nap direction and lighting; position lamps nearby to highlight the fabric’s rich, shimmering luster.
- Variation: Choose a channel-tufted backrest with vertical fluted stitching for an unmistakable vintage cinema aesthetic.
Needs to Make That Thing
- Curved channel-tufted velvet sofa in jewel-tone emerald
- Silk or satin geometric accent pillows
- Round wool and silk abstract area rug
- Floor lamp with warm ambient glow
3. High-Gloss Black Lacquer Credenza
Introduction
High-gloss lacquer finishes are a hallmark of Art Deco cabinetry, reflecting light and adding mirror-like sheen to living spaces. A black lacquer credenza adorned with brass hardware makes a striking statement.
What This Idea Means
This concept represents polished refinement, impeccable craftsmanship, and dramatic contrast. The reflective surface adds depth to a room while embodying the sleek industrial progress of the era.
How to Make It
- Cabinet Sourcing: Acquire a solid wood sideboard or credenza, or refinish an existing vintage credenza by sanding it completely smooth.
- Lacquer Application: Apply multiple coats of high-gloss black lacquer or mirror-finish polyurethane paint, sanding lightly between coats to eliminate imperfections.
- Hardware Upgrades: Install geometric polished brass or chrome cabinet pulls shaped like fans, stepped pyramids, or sleek linear bars.
- Styling the Top: Style the top surface with a marble tray, a sculptural crystal decanter set, and a brass table lamp with a frosted glass shade.
Tips and Variations
- Tip: Use a specialized micro-fiber cloth and gentle glass cleaner to maintain the high-gloss lacquer finish without scratching.
- Variation: Opt for deep oxblood red or cobalt blue lacquer for a bolder, more colorful high-gloss statement.
Needs to Make That Thing
- Solid wood credenza or sideboard base
- High-gloss black lacquer paint or polyurethane
- Fine-grit sandpaper and foam rollers
- Polished brass geometric cabinet hardware
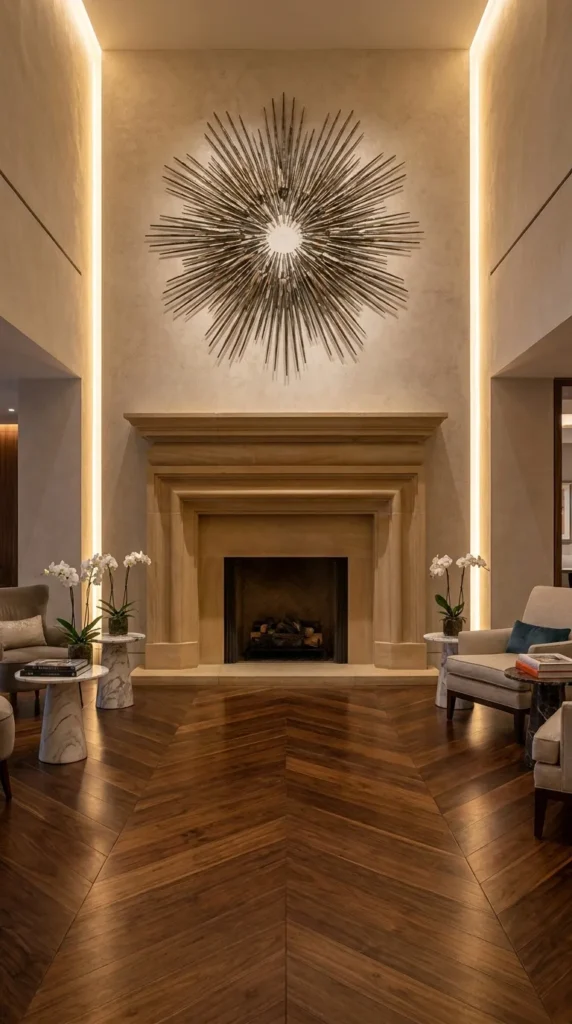
4. Stepped Architectural Fireplace Mantel
Introduction
Stepping—the process of creating ascending or descending geometric tiers—defines Art Deco architecture. A fireplace mantel featuring stepped ziggurat molding channels the monumental grandeur of 1930s skyscrapers.
What This Idea Means
This design celebrates verticality, geometric rhythm, and skyline monumentality. It turns the hearth into an architectural sculpture that commands the room.
How to Make It
- Mantel Design: Build a custom fireplace mantel surround using layered MDF or wooden boards that step outward and upward in precise geometric increments.
- Surround Materials: Clad the firebox surround in polished black granite, nero marquina marble, or decorative zellige tiles.
- Mantel Styling: Place an oversized arched or sunburst mirror directly in the center of the stepped mantel shelf, flanked by heavy brass candlesticks.
- Finishing: Paint the stepped wooden mantel in a matte chalky finish or a satin black enamel to contrast with the polished stone hearth.
Tips and Variations
- Tip: Maintain strict symmetry when styling objects on a stepped Art Deco mantel to preserve the formal elegance of the style.
- Variation: Incorporate fluted pilasters on either side of the fireplace opening supporting the stepped mantel shelf.
Needs to Make That Thing
- MDF boards and dimensional lumber for stepped buildup
- Polished black granite or marble fireplace surround tiles
- Heavy-duty construction adhesive and brad nails
- Matte or satin black enamel paint
5. Statement Brass Starburst Chandelier
Introduction
Lighting in Art Deco design is treated as glowing jewelry. A dramatic brass starburst or Sputnik chandelier suspended from the ceiling commands attention and bathes the room in sophisticated brilliance.
What This Idea Means
This concept focuses on celestial drama, metallic warmth, and sculptural illumination. It draws the gaze upward, filling vaulted or standard ceilings with radiant art.
How to Make It
- Ceiling Assessment: Ensure your ceiling electrical junction box is structurally rated to support the weight of a heavy brass fixture.
- Fixture Hanging: Suspend the starburst chandelier at the correct height (typically 30 to 36 inches above a dining table or centered in a living room volume).
- Bulb Selection: Use vintage-style Edison LED bulbs with exposed filament threads to enhance the warm, nostalgic metallic glow.
- Dimmer Switch: Connect the chandelier to a low-voltage dimmer switch so you can adjust the ambiance from bright daylight glamour to intimate evening warmth.
Tips and Variations
- Tip: Dust intricate brass starburst arms regularly with a soft duster or compressed air to maintain their brilliant metallic reflection.
- Variation: Choose a fixture featuring frosted glass globe shades clustered along the brass rays for a softer, diffused glow.
Needs to Make That Thing
- Brass starburst chandelier fixture
- Rated ceiling electrical junction box and mounting hardware
- Vintage Edison LED filament bulbs
- Compatible wall dimmer switch
6. Chevron Inlay Hardwood Flooring
Introduction
Geometric flooring patterns such as chevron and herringbone add undeniable European sophistication to an Art Deco interior. The sharp diagonal angles guide the eye through the room with rhythmic precision.
What This Idea Means
This design philosophy honors classic French parquet craftsmanship and linear geometry. It introduces subtle texture and pattern underfoot without overwhelming the room’s decor.
How to Make It
- Subfloor Preparation: Ensure the subfloor is perfectly flat, dry, and primed for hardwood installation.
- Laying Out Lines: Snap chalk lines to establish a precise center starting axis, as chevron patterns demand absolute mathematical symmetry across the room.
- Precision Installation: Install pre-finished chevron wood blocks (such as smoked European white oak or rich walnut) using specialized tongue-and-groove adhesives and cleats.
- Sealing and Finishing: Apply a matte or satin polyurethane floor sealer to protect the wood while preserving its natural grain and color.
Tips and Variations
- Tip: Inset a contrasting dark wenge wood border or brass inlay strip around the perimeter of the chevron room for a bespoke custom rug effect.
- Variation: Use polished white marble tiles cut into chevron patterns for a glamorous Art Deco entryway foyer.
Needs to Make That Thing
- Pre-finished chevron hardwood flooring blocks (Oak or Walnut)
- Hardwood flooring adhesive and pneumatic cleat nailer
- Chalk line and laser measure
- Satin polyurethane floor finish
7. Streamline Moderne Waterfall Bar Cart
Introduction
Streamline Moderne, an aerodynamic late phase of Art Deco influenced by industrial train and ship design, champions curved corners and horizontal lines. A rolling chrome and glass waterfall bar cart is both functional and chic.
What This Idea Means
This concept represents speed, polished chrome, and entertaining elegance. It brings a cocktail-culture sophistication into the living or dining room.
How to Make It
- Cart Selection: Source a bar cart featuring curved bent chrome tubing, rounded glass shelving tiers, and smooth-rolling casters.
- Glass Care: Polish the glass tiers with streak-free cleaner until crystal clear.
- Bar Styling: Stock the cart with crystal decanters, vintage coupe glasses, a polished silver cocktail shaker, and a bowl of fresh citrus.
- Botanical Touch: Add a slender crystal vase holding a single dramatic palm frond or calla lily to complete the vintage lounge aesthetic.
Tips and Variations
- Tip: Choose a bar cart with mirrored glass shelves to bounce light upward through your glassware collection.
- Variation: Opt for a built-in stationary bar cabinet featuring curved fluted wood doors and a polished brass mirrored back panel.
Needs to Make That Thing
- Streamline Moderne chrome and glass bar cart
- Vintage crystal decanters and coupe glassware set
- Polished silver or brass cocktail shaker kit
- Decorative cocktail napkins and bar accessories



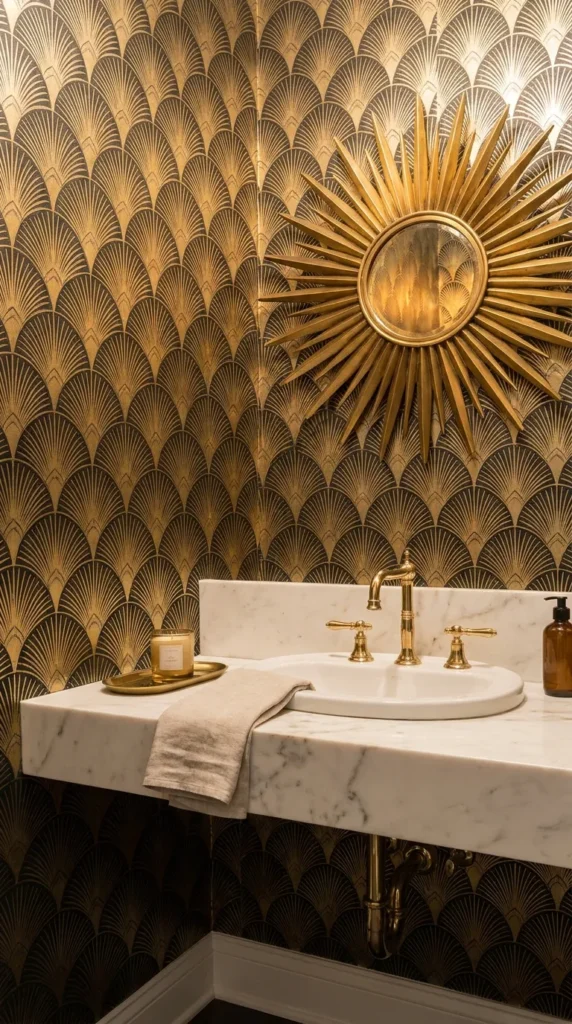
8. Fan-Shaped Metallic Wallpaper
Introduction
Art Deco fan motifs (often referred to as scallop or fishscale patterns) create a rhythmic, repeating pattern that brings instant elegance and subtle texture to walls.
What This Idea Means
This design celebrates rhythmic repetition, aquatic inspiration, and metallic accentuation. It wraps rooms in a tailored, patterned cocoon that feels both historic and modern.
How to Make It
- Wall Preparation: Prime and smooth your walls to create a flawless surface for wallpaper installation.
- Pattern Matching: Measure your wall height and cut wallpaper strips carefully, accounting for pattern repeat alignment.
- Pasting and Hanging: Apply paste-the-wall adhesive and smooth each fan-patterned panel down with a wallpaper smoother, aligning metallic gold lines seamlessly.
- Trimming: Trim excess paper neatly along baseboards and ceilings with a sharp utility knife.
Tips and Variations
- Tip: Use fan-shaped metallic wallpaper on a powder room accent wall or inside the back of a bookshelf for a high-impact, luxurious surprise.
- Variation: Choose a wallpaper featuring matte black fan scales outlined in shimmering rose gold for a moody, contemporary bedroom backdrop.
Needs to Make That Thing
- Fan-shaped Art Deco metallic wallpaper rolls
- Paste-the-wall wallpaper adhesive and roller
- Wallpaper smoothing brush and utility knife
- Laser level and plumb line
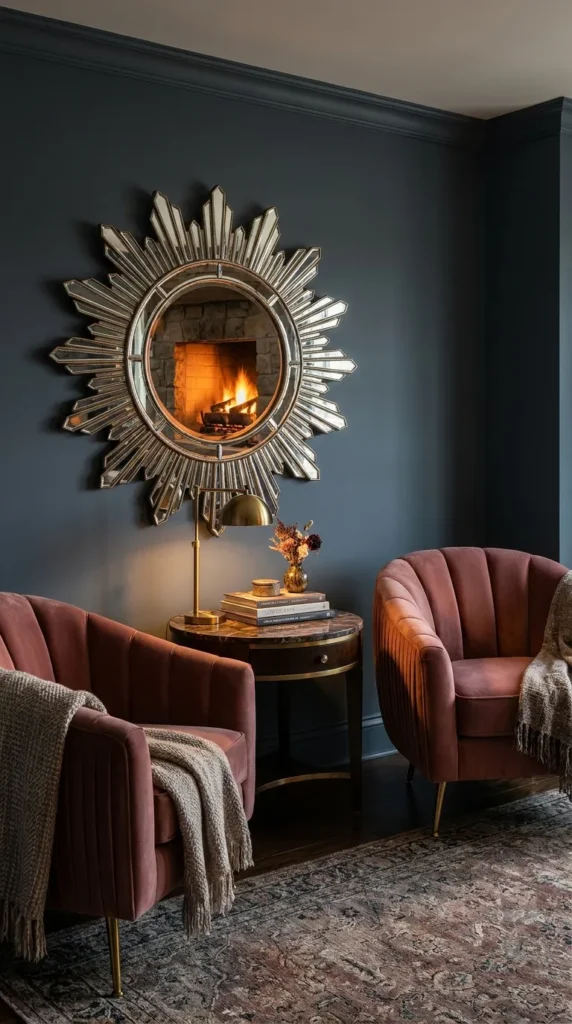
9. Beveled Edge Starburst Mirror
Introduction
Mirrors in Art Deco interiors are rarely simple rectangles. A beveled edge mirror featuring segmented, geometric starburst or stepped frames reflects light into prismatic facets.
What This Idea Means
This concept focuses on optical refraction, geometric complexity, and light multiplication. It acts as functional wall jewelry that expands spatial boundaries.
How to Make It
- Choosing the Mirror: Select a statement wall mirror featuring a central beveled glass plate surrounded by an intricate fan or starburst frame made of mirrored glass segments.
- Wall Anchoring: Locate wall studs and install heavy-duty mirror-hanging brackets rated for the weight of the piece.
- Strategic Placement: Hang the mirror opposite a window or chandelier to maximize the reflection of light and architectural details.
- Maintenance: Polish the segmented glass joints and bevels regularly with ammonia-free glass cleaner.
Tips and Variations
- Tip: Group a collection of three smaller Art Deco sunburst mirrors together in an asymmetrical gallery arrangement over a sofa.
- Variation: Opt for an antique foxed-glass mirror frame for a softer, aged vintage patina.
Needs to Make That Thing
- Art Deco segmented starburst beveled wall mirror
- Heavy-duty mirror hanging hardware and wall anchors
- Stud finder and drill
- Glass cleaner and microfiber cloth
10. Fluted Velvet Upholstered Accent Chairs
Introduction
Fluted upholstery—featuring tight vertical channels stitched into soft fabric—is a signature tailoring detail of Art Deco furniture. Pairing a pair of fluted velvet armchairs creates an instant conversation corner.
What This Idea Means
This design philosophy honors bespoke tailoring, vertical rhythm, and comfortable luxury. It adds tactile softness and structured elegance to seating arrangements.
How to Make It
- Chair Selection: Acquire two matching armchairs featuring rounded barrel backs with vertical fluted channel stitching and exposed brass legs.
- Color Coordination: Choose a rich, contrasting fabric color such as mustard yellow, dusty rose, or peacock blue to pop against neutral walls.
- Arranging the Nook: Position the chairs angled toward each other beside a marble-topped accent table and a sleek floor lamp.
- Styling: Drape a plush faux-fur or cashmere throw blanket over one armchair corner for relaxed, inviting luxury.
Tips and Variations
- Tip: Rotate accent chairs occasionally to ensure even wear on the velvet pile in high-traffic sitting areas.
- Variation: Select swivel armchairs upholstered in high-performance textured boucle fabric for a modern organic-deco twist.
Needs to Make That Thing
- Pair of fluted velvet barrel armchairs with brass legs
- Round marble-topped accent side table
- Sleek arc floor lamp with metal shade
- Cashmere or faux-fur throw blanket
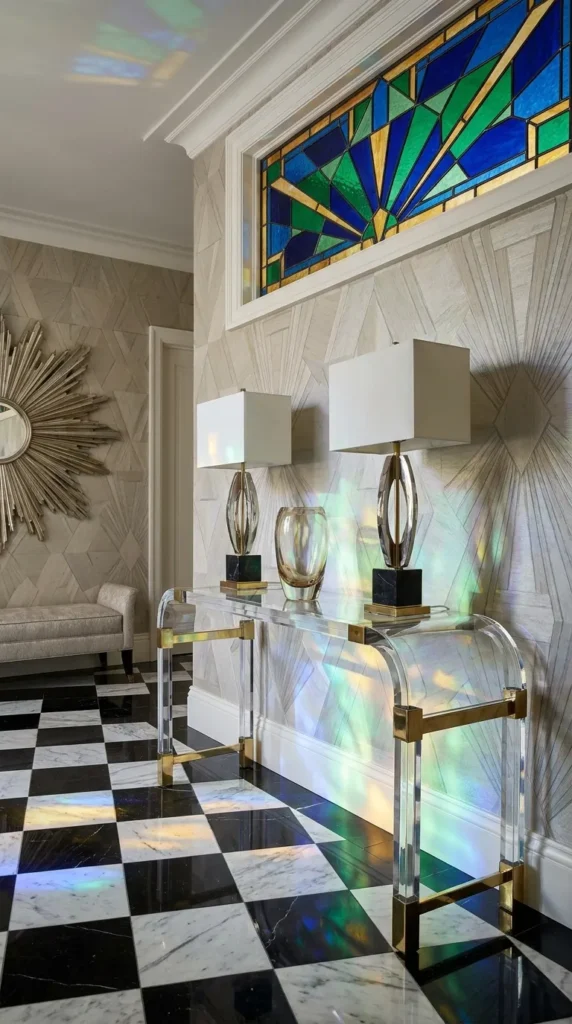
11. Black and White Marble Checkerboard Entryway
Introduction
A high-contrast black and white marble checkerboard floor makes a dramatic, unforgettable first impression in an entryway or foyer, echoing grand European hotel lobbies.
What This Idea Means
This concept celebrates graphic contrast, classical symmetry, and timeless grandeur. It establishes a formal, architectural tone right at the front door.
How to Make It
- Surface Leveling: Pour and level a cement subfloor slab, ensuring it is completely waterproof and stable.
- Laying Out Grids: Snap diagonal or straight chalk grid lines from the center of the entryway outward to ensure symmetrical tile cuts along the walls.
- Tile Installation: Lay alternating square tiles of polished Nero Marquina (black) and Carrara (white) marble using premium white thin-set mortar.
- Grouting and Sealing: Grout the floor with matching fine grout and apply an impregnating stone sealer to protect against foot traffic moisture.
Tips and Variations
- Tip: Lay the checkerboard pattern on a 45-degree diagonal angle to make narrow entryways feel wider and more dynamic.
- Variation: Add a decorative marble Greek key border framing the perimeter of the checkerboard floor.
Needs to Make That Thing
- Polished Nero Marquina black and Carrara white marble tiles
- White thin-set mortar and notched trowel
- Wet tile saw and diamond polishing pads
- Stone impregnating sealer
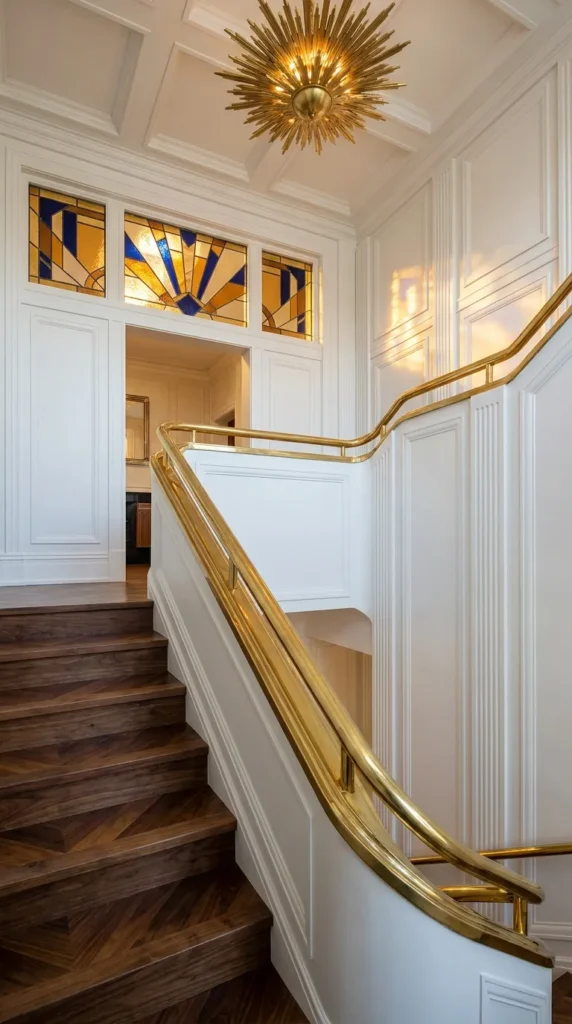
12. Stained Glass Geometric Transom Windows
Introduction
Art Deco stained glass moves away from heavy floral church designs toward bold, geometric abstract compositions. Installing stained glass transom windows above interior doors introduces colored, faceted light.
What This Idea Means
This design explores stained glass modernism, color filtering, and privacy screening. It transforms mundane daylight into glowing, jewel-toned artistic illumination.
How to Make It
- Design and Sizing: Measure your upper transom window openings and draft a geometric Art Deco pattern using zigzags, chevrons, and stepped sunbursts.
- Glass Fabrication: Cut colored art glass panes in amber, emerald, cobalt, and frosted white, joining them with traditional lead came or copper foil solder.
- Installation: Secure the completed stained glass panels into the window frame using glazing points and structural silicone sealant.
- Enjoying the Light: Watch as afternoon sunlight casts colorful geometric shadows across your floors and walls.
Tips and Variations
- Tip: If replacing permanent windows isn’t an option, hang removable faux stained-glass glass films printed with geometric Art Deco patterns.
- Variation: Use textured reeded art glass combined with simple brass came lines for a subtle, neutral geometric transom window.
Needs to Make That Thing
- Custom geometric Art Deco stained glass panels
- Traditional lead came or copper foil and solder
- Silicone glazing sealant and putty knife
- Safety glasses and glass cutter
13. Lucite and Polished Chrome Console Table
Introduction
Combining transparent acrylic (Lucite) with gleaming polished chrome creates the illusion that a console table is floating in mid-air. This airy design brings modern lightness to heavy traditional spaces.
What This Idea Means
This concept represents material transparency, futuristic lightness, and structural minimalism. It allows light to pass right through the furniture, making small entryways feel expansive.
How to Make It
- Console Selection: Choose a console table featuring thick, crystal-clear Lucite legs and polished chrome or brass corner joints and framing.
- Placement: Position the console table against an entryway accent wall beneath a statement mirror or artwork.
- Curated Styling: Style the clear glass or Lucite shelf with minimal objects—a heavy marble catch-all tray, a bronze sculpture, and a sleek glass vase.
- Floor Protection: Apply clear felt pads beneath the Lucite base to prevent scratching on hardwood or tile flooring.
Tips and Variations
- Tip: Clean Lucite furniture exclusively with mild soap and water or specialized acrylic cleaner; ammonia-based glass cleaners will cloud the acrylic.
- Variation: Choose a console featuring smoked translucent gray Lucite for a moodier, sophisticated evening cocktail lounge vibe.
Needs to Make That Thing
- Thick crystal-clear Lucite and polished chrome console table
- Specialized acrylic surface cleaner and microfiber cloths
- Marble entryway catch-all tray and minimalist vase
- Clear protective furniture felt pads
14. High-Gloss Metallic Gold Leaf Ceiling
Introduction
The “fifth wall” gets the ultimate glamorous treatment in Art Deco design. Gilding a dining room or powder room ceiling in high-gloss metallic gold leaf creates a shimmering canopy of warm light.
What This Idea Means
This design philosophy treats ceilings as reflectors of luxury and intimacy. It envelops the room in a warm, amber glow that flatters lighting and evening dinner guests.
How to Make It
- Ceiling Preparation: Sand the ceiling smooth and paint it with a warm red or ochre base coat (the traditional foundation for gold leaf application).
- Applying Size: Roll or brush metal leaf sizing (adhesive) across the ceiling surface, allowing it to tack up to a sticky, pressure-sensitive finish.
- Laying Gold Leaf: Gently press sheets of genuine or imitation gold leaf onto the sticky surface, smoothing them down with a soft dry brush.
- Sealing: Seal the finished gold leaf ceiling with a clear protective varnish to prevent tarnishing and dust accumulation.
Tips and Variations
- Tip: Dim the overhead chandelier lights after gilding to watch the gold leaf ceiling cast a magical, candle-like amber reflection across the room.
- Variation: Use silver leaf or champagne gold leaf for a cooler, more contemporary metallic ceiling finish.
Needs to Make That Thing
- Genuine or imitation gold leaf sheets and sizing adhesive
- Ochre or red primer base coat paint
- Soft gilding application brushes and lint-free cloths
- Clear protective topcoat varnish


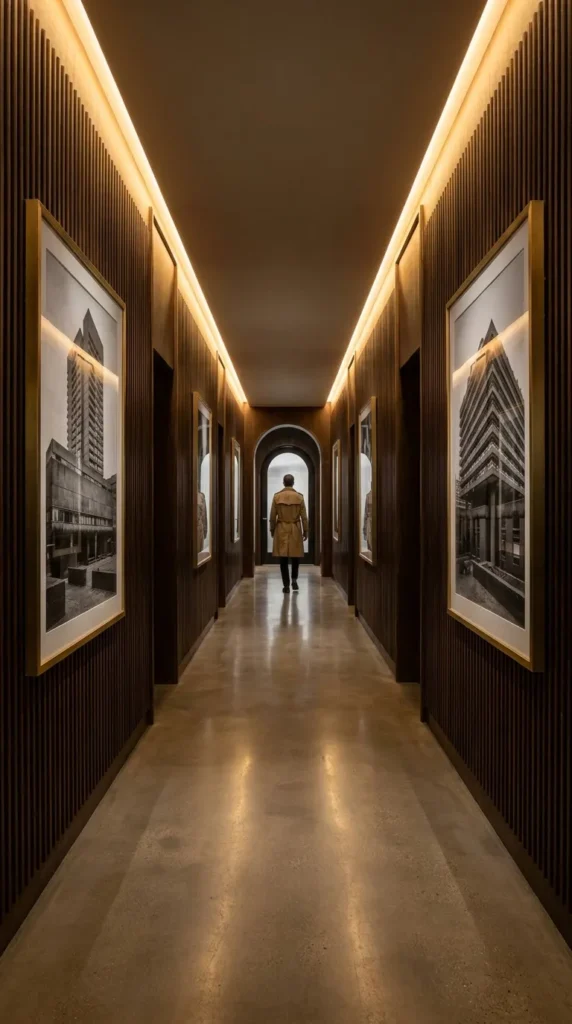
15. Fluted Wood Wall Panelling with Brass Inlays
Introduction
Fluted (reeded) wood paneling brings magnificent tactile texture to walls, while embedded thin brass inlay strips elevate the woodwork into a bespoke architectural masterpiece.
What This Idea Means
This concept celebrates vertical rhythm, tactile warmth, and precision metallic detailing. It breaks up flat walls with sophisticated tactile shadows and luxury metal accents.
How to Make It
- Panel Sourcing: Acquire solid wood fluted tambour panels or rout vertical half-round grooves into MDF panels using a router table.
- Integrating Brass Strips: Route narrow channels between every few flutes to insert flat brass inlay strips flush with the wood surface.
- Staining and Sealing: Apply a rich walnut or ebonized stain to the wood panels, sealing them with a satin protective clear coat.
- Wall Mounting: Secure the fluted wood panels to the wall using heavy-duty construction adhesive and concealed brad nails.
Tips and Variations
- Tip: Run fluted wood paneling vertically behind a media console or as a sophisticated home office Zoom background.
- Variation: Use white oak fluted panels paired with brushed nickel inlays for a brighter, contemporary Scandinavian-Deco hybrid look.
Needs to Make That Thing
- Fluted wood tambour panels or MDF boards
- Flat brass inlay strips and metal adhesive
- Walnut wood stain and satin clear coat finish
- Heavy-duty construction adhesive and nail gun
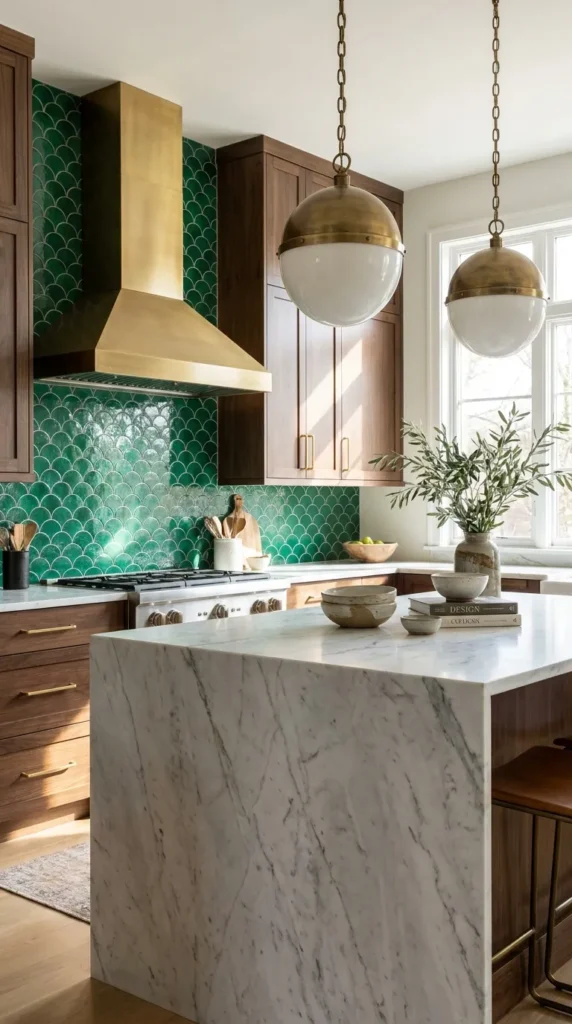
16. Art Deco Fan Tile Kitchen Backsplash
Introduction
A kitchen backsplash tiled in ceramic or marble fan-shaped (fishscale) mosaics brings rhythmic aquatic elegance and vintage charm to modern culinary spaces.
What This Idea Means
This design highlights pattern repetition, artisanal tilework, and statement backsplashes. It turns a functional kitchen cooking zone into a breathtaking focal artwork.
How to Make It
- Surface Prep: Clean and waterproof your kitchen wall backsplash area thoroughly with mold-resistant primer.
- Laying Tile Sheets: Apply thin-set mortar and press mesh-backed fan mosaic tile sheets into place, ensuring the curved scallop patterns interlock smoothly.
- Precision Cuts: Use a wet tile saw to trim individual fan tiles neatly along the upper cabinets and countertop edges.
- Grouting: Apply a matching or contrasting grout (such as dark charcoal or metallic gold grout) and seal the tile surface against kitchen grease.
Tips and Variations
- Tip: Choose glossy emerald green ceramic fan tiles paired with unlacquered brass cabinet hardware for the ultimate Art Deco kitchen aesthetic.
- Variation: Opt for mother-of-pearl iridescent fan tiles that catch and refract kitchen lighting from every angle.
Needs to Make That Thing
- Mesh-backed fan-shaped mosaic tile sheets (ceramic or marble)
- Thin-set tile mortar and notched trowel
- Tile grout and rubber grout float
- Wet tile saw and tile sealer
17. Symmetry-Driven Salon Gallery Wall
Introduction
Art Deco loves formal symmetry and balanced composition. Curating a salon-style gallery wall framed in matching ornate metallic frames creates a disciplined yet dramatic art display.
What This Idea Means
This concept celebrates curated storytelling, classical balance, and uniform framing. It organizes diverse artworks into a harmonious architectural grid.
How to Make It
- Selecting Artworks: Collect vintage fashion illustrations, geometric abstract prints, and black-and-white architectural photography.
- Unified Framing: Place all artworks inside identical heavy metallic frames (such as antique gold, brushed brass, or stepped black lacquer).
- Grid Layout: Lay the frames out on the floor first, arranging them in a precise symmetrical grid or balanced vertical column around a central anchor piece.
- Hanging: Mount the frames securely to the wall using a laser level to ensure absolute alignment across all rows and columns.
Tips and Variations
- Tip: Include a central vintage brass sunburst clock as the focal anchoring piece in the middle of your symmetric gallery wall.
- Variation: Use matching white mat boards inside all frames to create clean negative space around each artwork.
Needs to Make That Thing
- Assorted vintage Art Deco art prints and illustrations
- Matching ornate metallic picture frames
- Laser level, tape measure, and picture hanging hardware
- Brass sunburst wall clock anchor piece
18. Frosted Glass and Chrome Sconces
Introduction
Streamline Moderne and Art Deco lighting frequently utilize thick frosted molded glass paired with polished chrome or nickel hardware, casting a soft, glare-free illumination.
What This Idea Means
This design philosophy prioritizes industrial grace, diffused light, and nautical-inspired curves. It brings sophisticated hotel corridor elegance into residential hallways and bathrooms.
How to Make It
- Electrical Placement: Install wall junction boxes at eye level (around 60 to 66 inches from the floor) along hallways or flanking a bathroom mirror.
- Mounting Sconces: Attach the polished chrome wall mounting brackets securely to the electrical boxes.
- Attaching Frosted Glass: Secure the heavy molded frosted glass shades over the bulbs, tightening any brass or chrome thumb screws carefully.
- Bulb Selection: Use warm white LED bulbs to ensure the frosted glass diffuses a soft, flattering glow without hot spots.
Tips and Variations
- Tip: Pair frosted glass and chrome sconces with dark charcoal or midnight blue hallway walls for maximum lighting contrast.
- Variation: Choose stepped stepped-pyramid frosted glass sconces for a more traditional 1920s skyscraper aesthetic.
Needs to Make That Thing
- Frosted molded glass and polished chrome wall sconces
- Wall electrical junction boxes and mounting hardware
- Warm white LED light bulbs
- Screwdriver and wire strippers
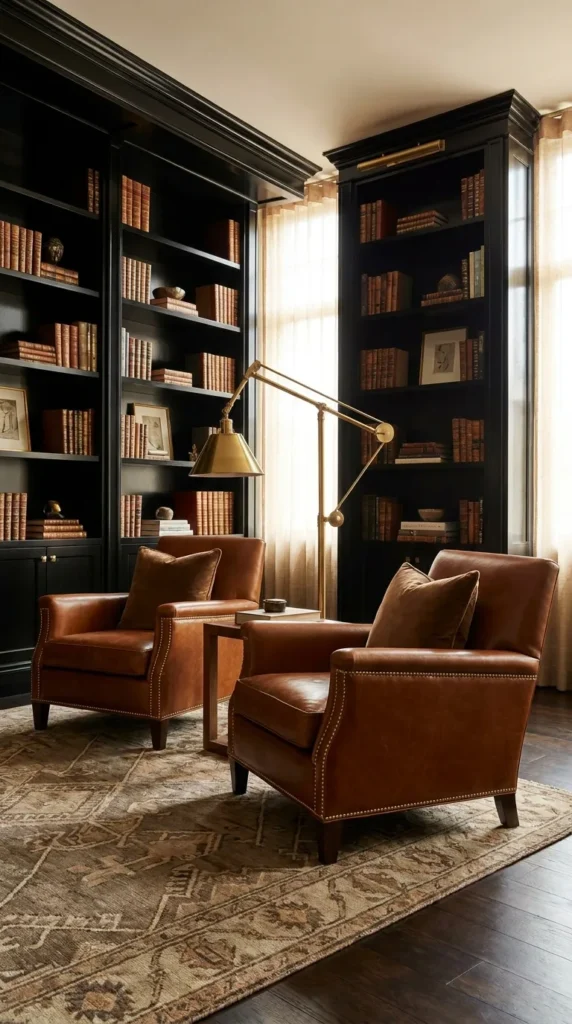
19. Leather and Brass Club Chairs
Introduction
The classic club chair—deep, low-slung, and upholstered in rich cognac or espresso leather—is an essential element of an Art Deco study or lounge, exuding masculine refinement.
What This Idea Means
This concept honors gentleman’s club heritage, comfort, and buttery leather patinas. It invites quiet reading, relaxation, and contemplative conversation.
How to Make It
- Chair Sourcing: Invest in a pair of deep, club-style armchairs upholstered in full-grain top-tier leather with antique brass nailhead trim along the armrests.
- Placement: Position the leather chairs opposite a carved wood fireplace or beside a stocked mahogany bar cart.
- Leather Care: Treat the leather annually with natural mink oil or leather conditioner to keep it supple and rich.
- Styling: Place a floor-standing brass reading lamp and a leather-bound book on an adjacent side table.
Tips and Variations
- Tip: Distressed cognac leather develops a gorgeous, lived-in patina over years of use, making the chairs look better with age.
- Variation: Opt for deep hunter green or oxblood red leather for a dramatic, moody library atmosphere.
Needs to Make That Thing
- Pair of deep-set leather club chairs with brass nailheads
- Leather conditioning balm and microfiber cloth
- Brass articulating reading floor lamp
- Mahogany wood side table and leather-bound books
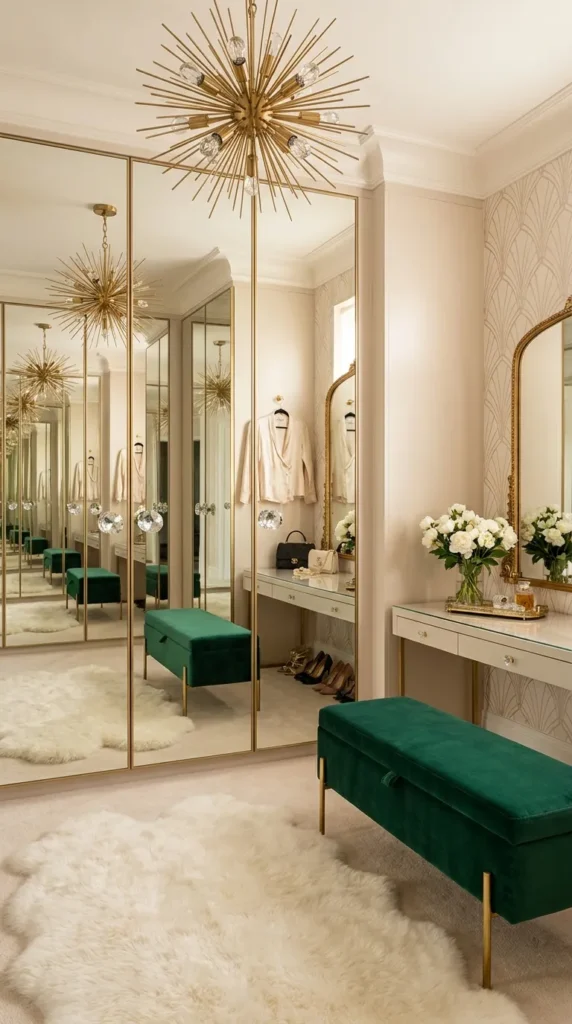
20. Hollywood Regency Mirrored Wardrobe Doors
Introduction
Hollywood Regency, the glamorous evolution of Art Deco popularized by 1930s film stars, heavily features mirrored surfaces, crystal knobs, and unadulterated glitz. Mirrored wardrobe doors expand bedroom space dramatically.
What This Idea Means
This design celebrates cinematic luxury, expansive reflection, and glamorous dressing rituals. It turns functional bedroom storage into a shining palace feature.
How to Make It
- Wardrobe Design: Build custom floor-to-ceiling wardrobe doors or apply mirrored glass overlay panels to existing closet doors.
- Beveled Mirror Panels: Use heavy safety-backed beveled mirror panels framed in slender polished brass or chrome molding strips.
- Crystal Hardware: Install sparkling crystal or faceted glass door knobs that catch the light like diamonds.
- Interior Lighting: Install motion-activated LED strip lighting inside the wardrobe so it illuminates automatically when opened.
Tips and Variations
- Tip: Clean mirrored wardrobe doors frequently with streak-free glass cleaner to maintain their flawless, dazzling reflection.
- Variation: Use antiqued smoked mirror panels for a softer, vintage Hollywood glamour effect that minimizes harsh reflections.
Needs to Make That Thing
- Safety-backed mirror panels and brass molding frames
- Faceted crystal or glass door knobs
- Construction adhesive and mirror mounting clips
- Motion-activated interior LED wardrobe lighting kit